XAML Polygon
The element of XAML is used to draw and fill polygons. This article shows how to use the Polygon element to draw and fill polygons in XAML.
The <Polygon /> element of XAML draws a ploygon. The Points attribute represents various points of the polygon.
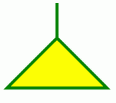
The following code draws and fills a polygon.
<Polygon Points="100,50 50,100 150,100 100,50 100,30"
Stroke="green" StrokeThickness="3" Fill="Yellow"/>
The output looks like Figure 1.

Figure 1. Drawing and filling a polygon
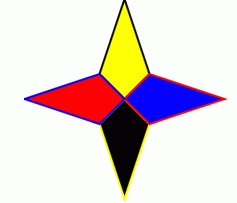
Here is another example of a polygon.
|
<Grid xmlns="http://schemas.microsoft.com/winfx/avalon/2005" Width="400" Height="300" >
<Polygon Points="100,0 75,75 100,100 125,75"
Stroke="Black" StrokeThickness="2" Fill="Yellow"/>
<Polygon Points="100,100 125,125 100,200 75,125"
Stroke="Yellow" StrokeThickness="2" Fill="Black"/>
<Polygon Points="100,100 125,75 200,100 125,125"
Stroke="Red" StrokeThickness="2" Fill="Blue"/>
<Polygon Points="100,100 75,125 0,100 75,75"
Stroke="Blue" StrokeThickness="2" Fill="Red"/>
</Grid>
|
The output looks like Figure 2.

Figure 2. Nice looking polygon
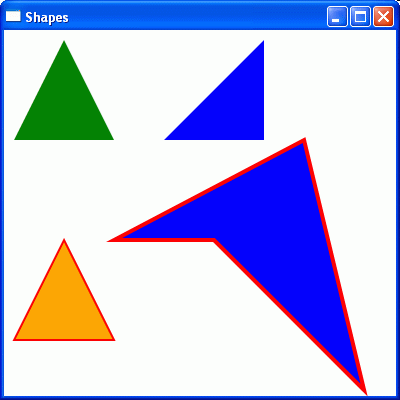
Here is a code snippet that draws random polygons with different fills and borders:
|
<
<Canvas Height="400" Width="400">
<!-- Draws a triangle with a green interior. -->
<Polygon Points="10,110 60,10 110,110" Fill="Green" />
<!-- Draws a triangle with a orange interior and a red outline.
The Canvas.Top setting moves the Polygon down 200 pixels. -->
<Polygon Points="10,110 60,10 110,110" Fill="Orange"
Stroke="Red" StrokeThickness="2
Canvas.Top="200" />
<!-- Draws another triangle with a blue interior.
The Canvas.Left setting moves the Polygon 150 pixels to the right. -->
<Polygon Points="10,110 110,110 110,10" Fill="Blue" Canvas.Left="150" />
<!-- Draws a polygon with random points -->
<Polygon Points="10,110 110,110 200, 200 260, 260 200, 10"
Stroke="Red" StrokeThickness="4" Fill="Blue"
Canvas.Left="100" Canvas.Top="100" />
</Canvas>
|
The output looks like Figure 3.

Figure 3. Random polygons
Further Readings
You may also want to read these related articles.
Ask Your Question
Got a programming related question? You may want to post your question here