How to Use AutoFill in Excel 2010
In this article I am going to explain about AutoFill in Excel 2010.
AutoFill in Excel 2010
AutoFill is the properties in excel by which automatic fill next value in next cell. To create auto fill we have to move cursor horizontally or vertically until release button. There are some AutoFill that already defined by excel such as month, day, number etc. we can also create our custom AutoFill.
How to create AutoFill
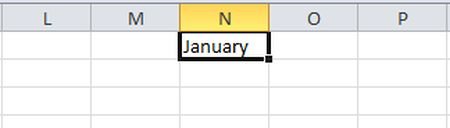
Step 1
Firstly we write month name, day name, number in the cell.
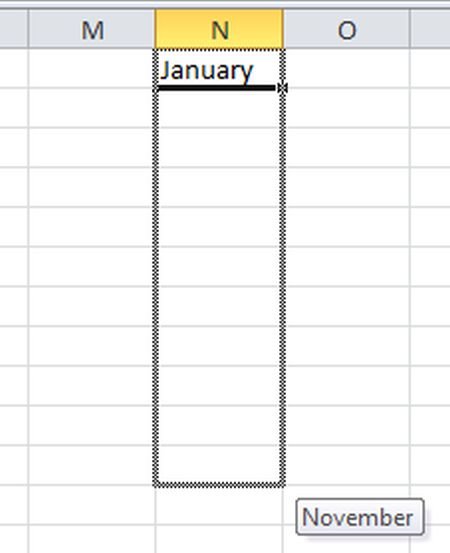
Step 2
Then after we move cursor horizontally or vertically.
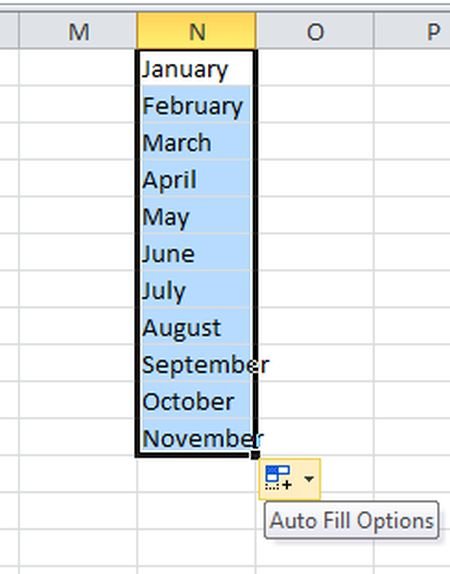
Step 3
Finally next month name will be automatic fill.
Create custom AutoFill
To create custom AutoFill we have to fallow following steps.
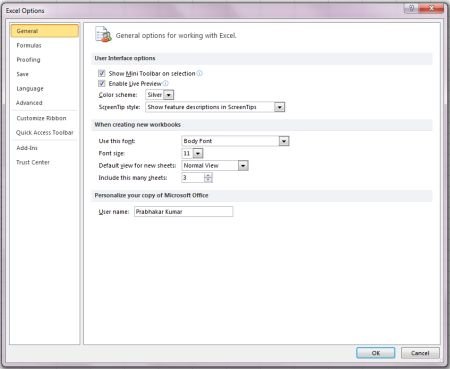
Step 1
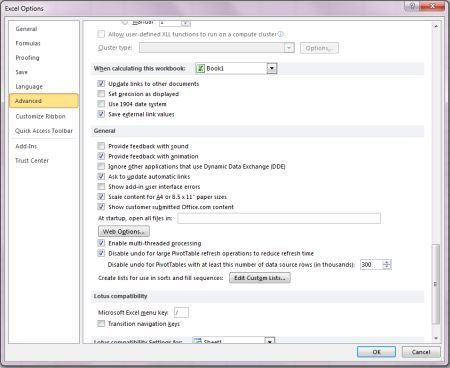
In File tab Click on option then a Excel options dialog box will be open.
Step 2
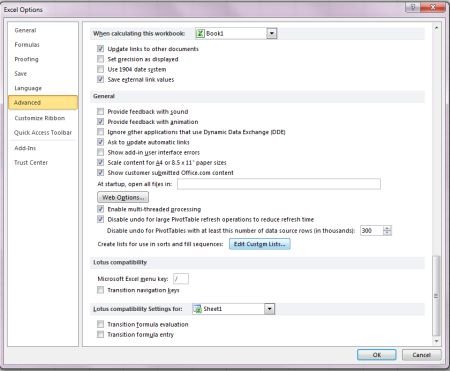
In Excel Options click on Advanced.
Step 3
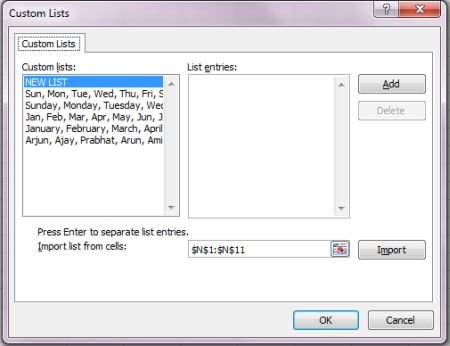
In Advanced option click on Edit Custom Lists. Then a second dialog box will be open where we defined our custom AutoFill.
Step 4
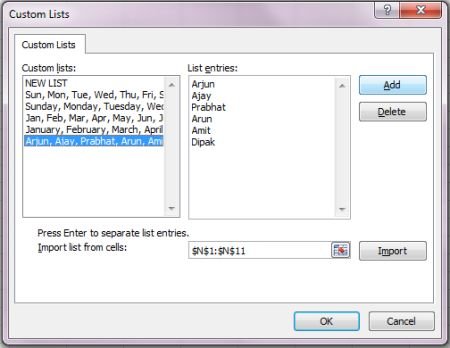
After defined custom AutoFill list click on Add. Here we can Delete our old AutoFill by the Delete option. And click Ok.
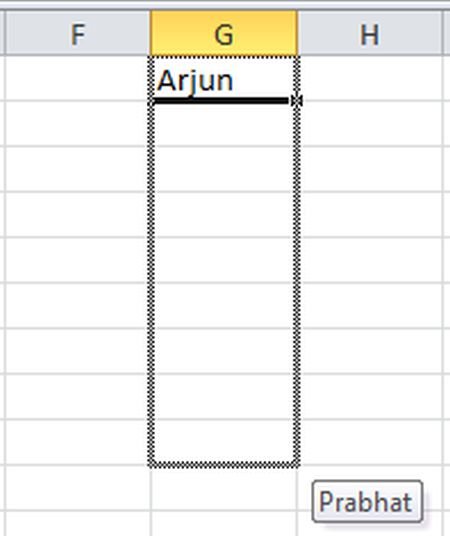
Step 5
Write the first value and move cursor horizontally or vertically.
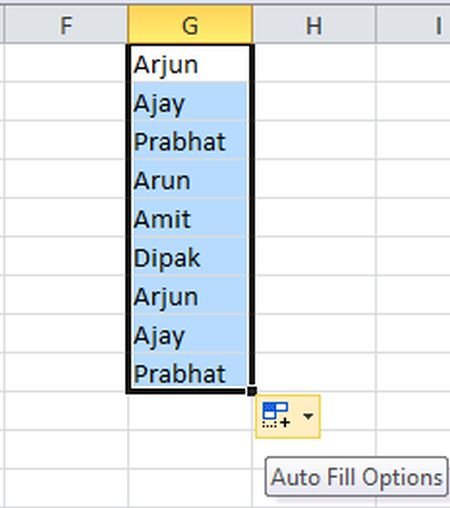
Step 6
Finally Custom AutoFill will be created.
Ask Your Question
Got a programming related question? You may want to post your question here