How to Use a picture as a watermark in PowerPoint 2010
In this article I have described about to use a picture as a watermark in PowerPoint 2010.
Watermarks in PowerPoint 2010
- We can insert a watermark behind our slide as a background for unique or clearly identify to presentation.
- Watermarks are flexible because we can change their sizes and their positions on a slide.
Use a picture as a watermark
To Use a picture as a watermark we have to use following steps.
STEP 1
First of all click the slide that you want to add a watermark to.
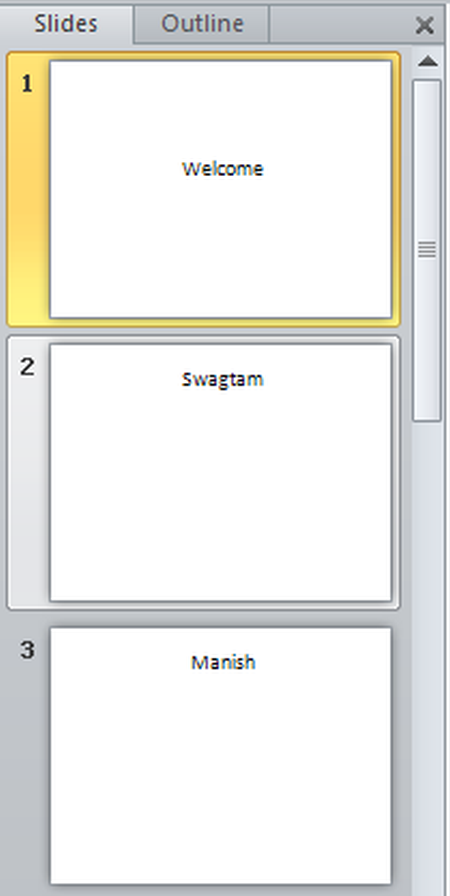
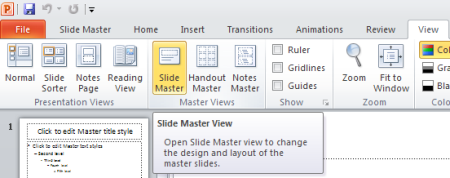
NOTE - To add a watermark to all of the slides in a blank presentation on the View tab in the Master Views group click Slide Master.
STEP 2
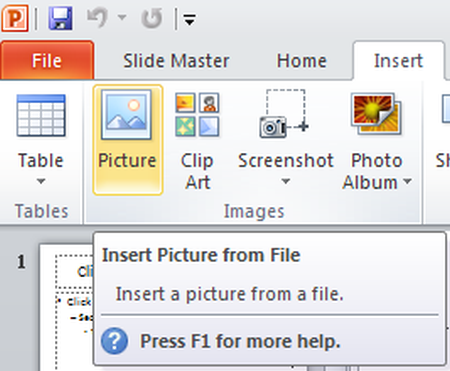
Then on the Insert tab in the Images group do one of the following.
- To use a picture as a watermark click Picture locate the picture that you want and then click Insert.
- To use clip art as a watermark click Clip Art.
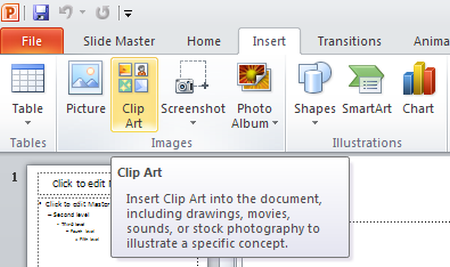
NOTE - In the Search text box type a word or phrase that describes the clip that you want or type all or part of the file name of the clip.
STEP 3
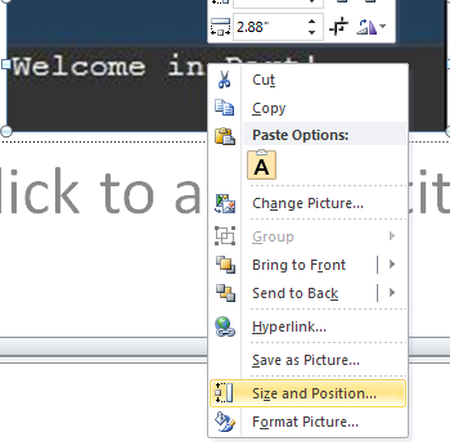
To adjust the size of the picture or clip art right-click the picture or clip art on the slide and then click Size and Position on the shortcut menu.
STEP 4
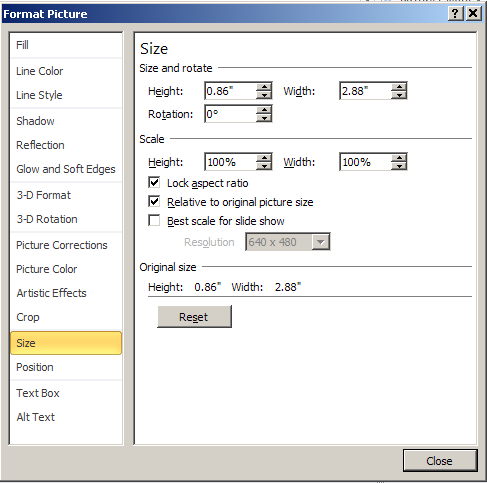
In the Size pane under Scale increase or decrease the settings in the Height and Width boxes.
STEP 5
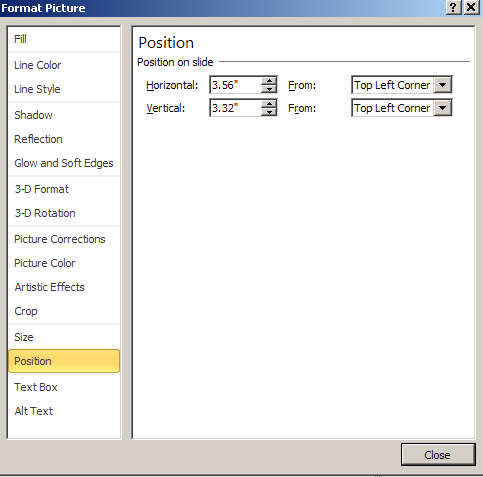
To move the picture or clip art on the slide click the Position tab and then enter the settings for the positions that you want in the Horizontal and Vertical boxes.
STEP 6
Then under Picture Tools on the Format tab in the Adjust group click Color and then under Recolor click the color fade that you want.
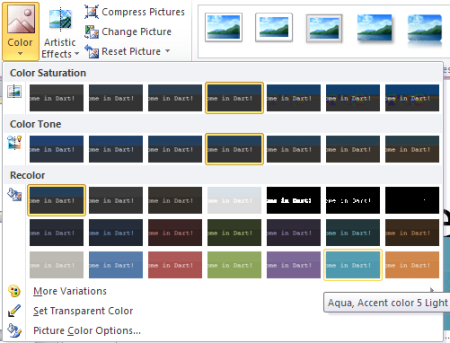
NOTE - if you do not see the Picture Tools or Format tabs make sure that you have selected a picture.
STEP 7
Then under Picture Tools on the Format tab in the Adjust group click Correction.
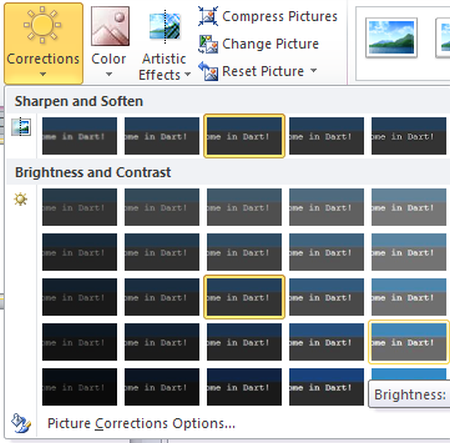
STEP 8
Then click Picture Corrections Options and then under Brightness and Contrast select the brightness percentage that you want.

STEP 9
Finally under Picture Tools on the Format tab in the Arrange group click the arrow next to Send Backward and then click Send to Back.

Ask Your Question
Got a programming related question? You may want to post your question here


 Programming Answers here