Add Header Footer Or Legend To A View In Project 2010
This article shows how to add header, footer or legend to a view in Project 2010.
Introduction
Process for adding header, footer or legend to a view in Project 2010 is given below.
Step 1
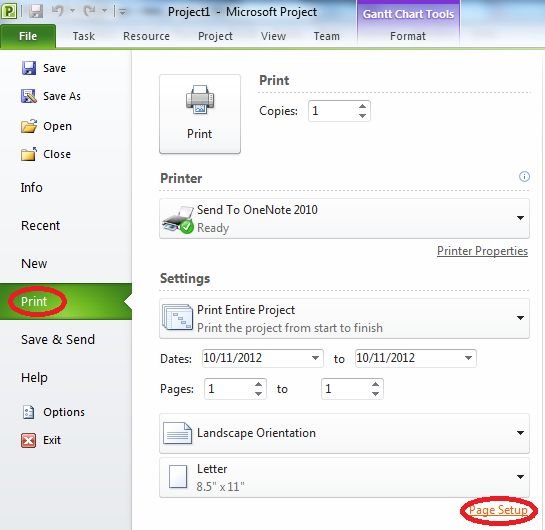
Click the File tab click Print and then click Page Setup.
Step 2
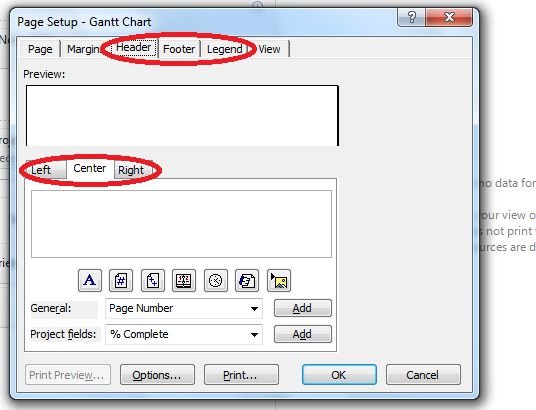
On the header, footer or legend tab click the left, center or right tab.
Step 3
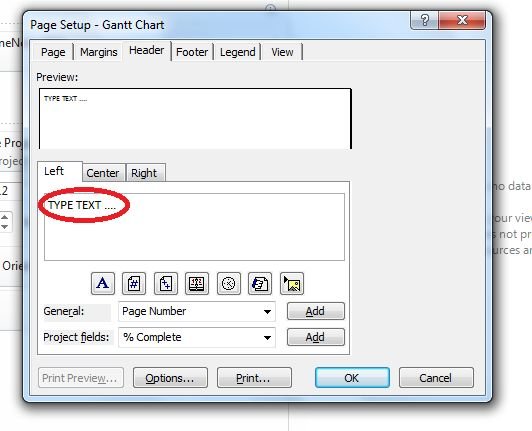
In the text box type or paste the text and the document or project information or insert or paste the graphic.
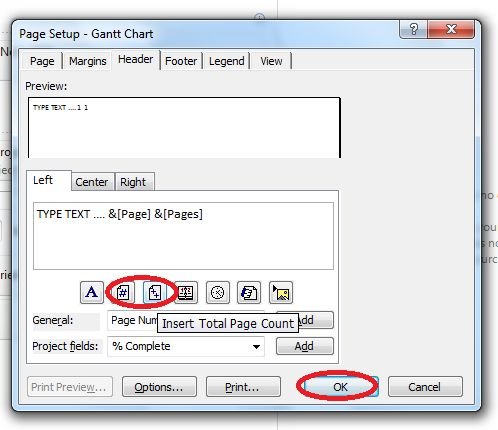
1. To add page numbers to the header, footer or legend click Insert Page Number, Insert Total Page Count or both.
2. To add current date or time to the header, footer or legend click Insert Current Date, Insert Current Time or both.

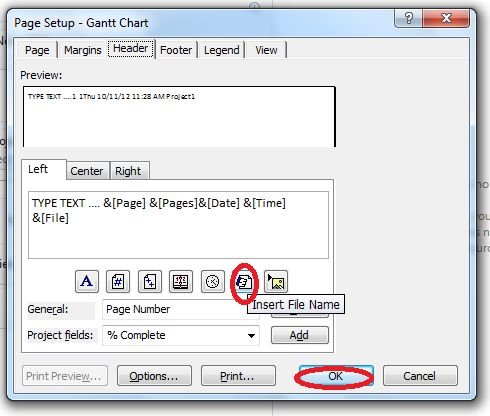
3. To add file name to the header, footer or legend click Insert File Name.
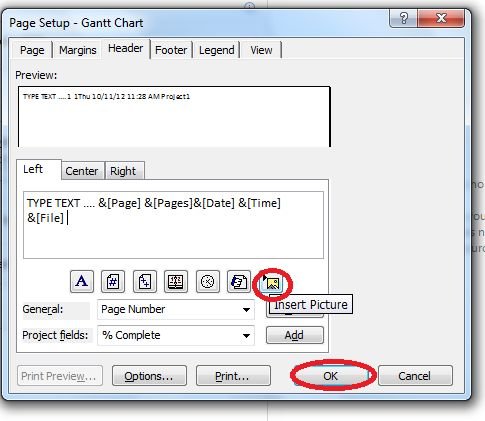
4. To add a graphic to the header, footer or legend click Insert Picture.
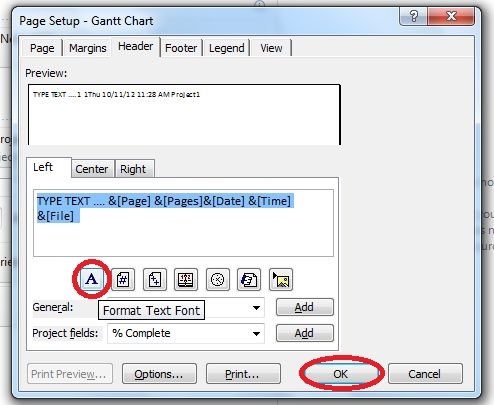
5.To format preset information select the ampersand (&) or select the text you want to format click Format Text Font and then select the formatting options that you want for the header, footer or legend.
Ask Your Question
Got a programming related question? You may want to post your question here